
The Ultimate Guide on How to Fix Stick Drift
There is nothing more frustrating for a gamer than being in the middle of an intense match, lining up the perfect shot, and watching your character aim at the sky for no reason. You aren’t touching the thumbstick, but your game thinks you are. This annoying phenomenon is known as “stick drift,” and it plagues controllers across every major platform, from the Nintendo Switch to the PlayStation 5 and Xbox Series X.
Before you throw your controller across the room or spend $70 on a brand-new one, you should know that this is a fixable problem. You don’t necessarily need an engineering degree to solve it, either. In this comprehensive guide, we will walk you through exactly how to fix stick drift using methods ranging from simple cleaning tricks to more advanced software adjustments. We want to help you save your hardware and your wallet.
What Exactly Is Stick Drift?
To understand how to fix stick drift, we first need to understand what is happening inside your controller. Stick drift occurs when the joystick on your controller registers input even when it is sitting in a neutral position. Imagine your hands are in your lap, but your character is slowly walking to the left. That is drift.
Most modern controllers use a component called a potentiometer. This is an analog sensor that tracks the position of your thumbstick. It uses physical wipers that move against a resistive track. Over time, friction occurs. This friction creates microscopic dust, or the tracks simply wear down. This wear and tear confuses the sensor, causing it to send “movement” signals to your console even when the stick is perfectly still.
The Symptoms of Drift
It is important to diagnose the issue correctly before attempting repairs. Here is what to look for:
- Phantom Movement: Your camera or character moves without input.
- Inaccurate Aiming: The crosshair feels “slippery” or overly sensitive in one direction.
- Menu Skipping: Scrolling through inventories or system menus becomes difficult because the cursor jumps around.
Common Causes of Controller Drift
Before we dive into the solutions, let’s look at why this happens. Knowing the cause can help you decide which fix is right for you.
- Dust and Debris: This is the most common culprit. Dust, Cheeto crumbs, or pet hair can fall into the gap surrounding the analog stick and interfere with the internal sensors.
- Wear and Tear: The internal mechanism is made of plastic and metal. Repeated friction from hundreds of hours of Call of Duty or Fortnite eventually grinds down the contact points.
- Software Glitches: Sometimes, the hardware is fine, but the software calibration is off. The controller “thinks” the center point is different from where it actually is.
- Physical Damage: Dropping the controller can dislodge components or damage the sensor module permanently.
Essential Tools You Will Need
If you are ready to learn how to fix stick drift, you should gather a few supplies. Depending on how deep you want to go, you might not need all of these, but it is good to be prepared.
- Compressed Air: A can of compressed air is vital for blowing out loose dust.
- Isopropyl Alcohol: Use 70% or higher concentration (90%+ is best) as it evaporates quickly and won’t damage electronics.
- Cotton Swabs (Q-tips): For applying the alcohol.
- Small Screwdrivers: Usually a Phillips #00 or a T8/T9 Torx security screwdriver (for Xbox).
- Plastic Pry Tool: To open the controller shell without scratching it.
|
Tool Name |
Purpose |
Importance Level |
|---|---|---|
|
Compressed Air |
Removing loose dust |
High |
|
Isopropyl Alcohol |
Cleaning sticky residue |
High |
|
Cotton Swabs |
Precision cleaning |
High |
|
Screwdriver Kit |
Opening the controller |
Medium (for deep cleans) |
|
Toothpick |
Removing grime from crevices |
Low |
Method 1: The “No-Open” Cleaning Fix
The first method for how to fix stick drift is the least invasive. We highly recommend trying this before you unscrew anything. This method focuses on cleaning the debris that might be lodged just under the joystick cap.
Using Compressed Air
- Turn off the controller. Ensure it is disconnected from the console.
- Move the stick. Push the analog stick to one side to expose the “ball” underneath.
- Spray short bursts. Use the straw attachment on your compressed air can. Spray into the gap on the opposite side of where you are holding the stick.
- Rotate and repeat. Rotate the stick 360 degrees while spraying short bursts to dislodge debris from all angles.
The Isopropyl Alcohol Trick
If air doesn’t work, there might be sticky residue.
- Dip the Q-tip. Soak a cotton swab in high-percentage Isopropyl alcohol.
- Clean the base. Rub the swab around the base of the analog stick “ball” housing. Squeeze a tiny amount of alcohol into the crevices.
- Work it in. Rotate the stick in circles for about 30 seconds. This helps the alcohol work its way down to the sensor contacts to dissolve grime.
- Let it dry. Wait at least 15 minutes before turning the controller back on.
Method 2: Adjusting Deadzones (The Software Solution)
Sometimes, the hardware is slightly worn, but you can hide the problem using software. This is a very effective way to learn how to fix stick drift without getting your hands dirty.
What is a Deadzone?
A “deadzone” is a small area around the center of your joystick where the game ignores input. If your stick drifts slightly to the left, increasing the deadzone means the game will ignore that slight movement until you push the stick further.
Adjusting Settings in Games
Many modern shooters like Apex Legends, Call of Duty, and Fortnite have built-in deadzone settings.
- Go to the game’s Settings menu.
- Look for Controller or Input options.
- Find Stick Deadzone (sometimes called “Look Deadzone”).
- Increase the number slightly (e.g., from 0.05 to 0.10) until the drift stops.
System-Level Calibration
Nintendo Switch:
- Go to System Settings > Controllers and Sensors.
- Select Calibrate Control Sticks.
- Follow the on-screen prompts to re-center the stick.
Steam (PC):
- Open Steam and go to Settings > Controller.
- Click General Controller Settings.
- Select your controller and click Calibrate. You can manually widen the deadzone here.
Method 3: Deep Cleaning the Internal Potentiometers
If the external cleaning didn’t work and the software fix makes the game feel unresponsive, you may need to open the controller. This is the most effective method for how to fix stick drift manually without buying new parts.
Warning: Opening your controller may void your warranty. Proceed with caution.
Step-by-Step Breakdown
- Remove the screws. Use your precision screwdriver set to remove the screws on the back of the controller. (Note: Xbox controllers often hide a screw behind the battery sticker).
- Pry open the shell. Use a plastic pry tool to pop the clips holding the two halves together. Be gentle to avoid snapping the plastic.
- Remove the battery. Carefully unplug the battery to ensure there is no power running through the board.
- Access the thumbsticks. Pull the plastic thumbstick caps off the metal prongs. You will now see the green or orange sensor boxes (potentiometers) on the sides of the stick module.
- Open the sensor. There are small plastic clips holding the green/orange sensors against the metal housing. Very gently pry these back just enough to see the black disc inside.
- Clean the disc. Dip a Q-tip in alcohol and gently clean the black internal disc and the metal wipers. If the disc looks damaged, remove it and clean it thoroughly.
- Reassemble. Snap the sensors back, replace the caps, and put the controller back together.
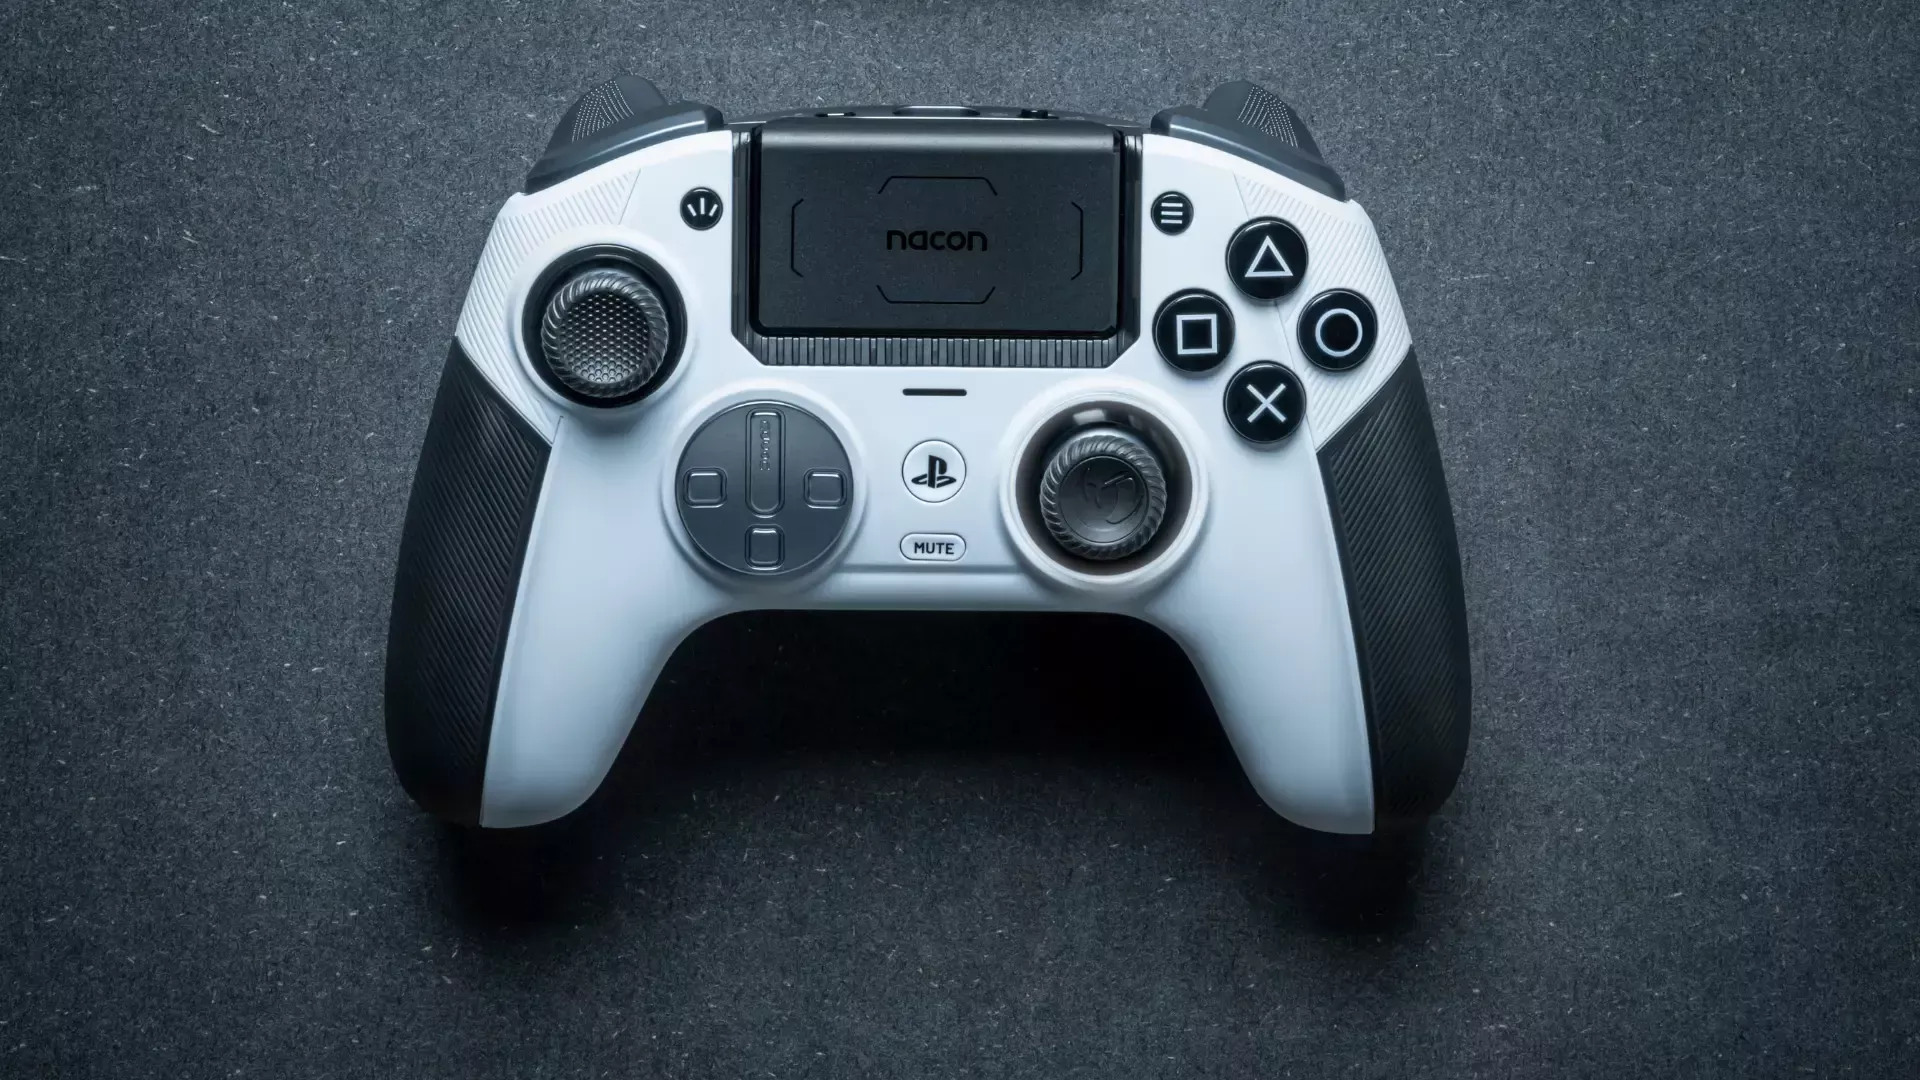
How to Fix Stick Drift on PS5 DualSense Controllers
The PlayStation 5 DualSense is an incredible piece of technology, but it is notorious for drift. Because of the haptic feedback motors, it is quite crowded inside.
Specific Tips for PS5 Users
When learning how to fix stick drift on a PS5 controller, be very careful with the ribbon cables. The DualSense has fragile ribbon cables connecting the adaptive triggers. When you separate the front and back shell, do not pull them apart forcefully. You must disconnect the ribbon cables gently.
Furthermore, the PS5 uses a specific type of potentiometer that is prone to accumulating dust. The “Method 1” alcohol trick works surprisingly well on DualSense controllers because the fluid can seep down effectively. However, if you must open it, ensure you keep track of the tiny springs in the triggers—they love to fly across the room.
How to Fix Stick Drift on Xbox Series X/S Controllers
Xbox controllers are generally more rugged, but they are not immune. The process for how to fix stick drift on Xbox is slightly different due to the construction.
Dealing with the Security Screw
The main obstacle for Xbox owners is the security screw. It is a T8 Torx screw with a small pin in the center. You cannot use a regular screwdriver; you must buy a “Security Torx” set. This screw is hidden directly behind the sticker in the battery compartment. You will have to puncture or remove the sticker, which definitely voids the warranty.
Once inside, Xbox controllers are actually easier to clean than PS5 controllers because the layout is less cluttered. The stick modules are soldered directly to the board, so do not try to pull the metal box out unless you know how to desolder. Focus on cleaning the sensors on the side of the box.
How to Fix Stick Drift on Nintendo Switch Joy-Cons
Joy-Con drift is so famous it has been the subject of lawsuits. The architecture of a Joy-Con is very different from standard console controllers. It uses a flat, compact sensor that wears down very quickly.
The Cardboard Trick
A popular community discovery for how to fix stick drift on Joy-Cons involves a piece of cardstock.
- Open the Joy-Con (requires a Tri-wing screwdriver).
- Locate the metal square that houses the stick.
- Place a small, rectangular piece of cardstock (about the thickness of a business card) on top of the metal housing.
- Close the shell.
Why does this work? The metal housing on Joy-Cons tends to loosen over time, causing poor contact. The pressure from the cardboard pushes the housing tight against the sensors again.
Replacing the Stick
Unlike Xbox or PS5, replacing a Joy-Con stick requires zero soldering. You can buy a replacement stick kit for $10 online. You simply unscrew the old module, unplug the ribbon cable, and plug in the new one. It is the most repair-friendly controller for full replacement.
When Is It Time to Buy a New Controller?
Sometimes, no matter how hard you try to figure out how to fix stick drift, the controller is too far gone. Here are the signs that a repair is impossible:
- Loose Spring: If the stick feels “floppy” and doesn’t snap back to the center physically, the internal spring is broken. Cleaning won’t fix this.
- Corrosion: If you open the controller and see blue or green crust on the circuit board (often from liquid damage), the electronics are fried.
- Jittery Input: If the drift is violent and erratic rather than a slow pull, the sensor itself might be cracked.
Hall Effect Sensors: The Permanent Solution?
If you are tired of constantly researching how to fix stick drift, you might want to look into the future of controller technology: Hall Effect sensors.
Standard controllers use physical contact (wipers on a track) to read input. Friction equals wear. Hall Effect sensors use magnets to detect position. Because the parts never physically touch, they do not wear down, and they do not develop drift. Several third-party companies now sell “Pro” controllers with Hall Effect sticks, and you can even buy Hall Effect replacement modules to solder into your existing controller if you are tech-savvy.
Prevention: How to Stop Drift Before It Starts
The best way to handle drift is to prevent it. While you can’t stop mechanical wear forever, you can extend the life of your gear significantly.
Best Practices for Controller Care
- Wash Your Hands: Oil and grease from your thumbs eventually seep into the mechanism. Clean hands mean a clean controller.
- Store in a Case: Dust is the enemy. Don’t leave your controller sitting out on a dusty TV stand for weeks. Keep it in a drawer or a case.
- Don’t Press Too Hard: In the heat of battle, we all press down on the sticks (L3/R3) too hard. Try to be gentle. Excessive pressure crushes the internal mechanism.
Key Takeaways
- Stick drift is caused by dust or wear: It happens to almost everyone eventually.
- Start simple: Try compressed air and Isopropyl alcohol before taking anything apart.
- Software fixes help: Increasing deadzones in your game settings is a great temporary patch.
- Opening the controller is effective: A deep clean of the potentiometers usually solves the issue for a long time.
- Joy-Cons are unique: They often require a pressure fix (cardboard) or a full part swap.
- Prevention matters: Keep your controllers clean and dust-free to avoid future issues.
Frequently Asked Questions (FAQ)
Q: Does blowing into the controller actually work?
A: It can work temporarily by moving dust around, but the moisture from your breath can actually cause corrosion over time. Canned air is much safer for learning how to fix stick drift properly.
Q: Will fixing stick drift void my warranty?
A: Cleaning the outside will not. However, opening the controller shell (unscrewing it) usually voids the manufacturer’s warranty. If your controller is less than a year old, check if you can get a free replacement from Sony, Microsoft, or Nintendo first.
Q: Can I use hand sanitizer instead of Isopropyl alcohol?
A: No! Hand sanitizer contains gels, scents, and moisturizers that will leave a sticky residue inside your controller and ruin it. Only use pure liquid Isopropyl alcohol.
Q: How much does it cost to fix stick drift professionally?
A: Repair shops often charge between $25 and $40. Considering a new controller is $70, it might be worth it, but doing it yourself costs only a few dollars for supplies.
Q: Is stick drift permanent?
A: Not always. If it is caused by dirt, it is temporary. If it is caused by the metal tracks being worn away completely, it is permanent unless you replace the sensor module.
Conclusion
Dealing with a broken controller is never fun, but hopefully, this guide has shown you that it isn’t a disaster. You now have a variety of tools in your arsenal for how to fix stick drift, from the quick alcohol clean to the more involved internal repair. By taking the time to maintain your equipment, you ensure that when you miss a shot in your favorite game, it’s because of your aim, not your hardware!
Whether you are on Xbox, PlayStation, or Switch, these methods can breathe new life into your gaming setup. Remember to work slowly, keep your tools organized, and don’t be afraid to try the software deadzone fixes first. For more technical details on the history of game controllers and potentiometers, you can always visit https://www.wikipedia.org/ to learn more about the engineering behind your favorite devices. Happy gaming!

